Water Leak in a London Flat: A Property Team Checklist Before Drying & Reinstatement
The first report after a water leak should make the next investigation easier—not create an assumption about the source. This practical checklist helps property teams capture useful information, arrange access and separate evidence gathering from drying or reinstatement decisions.
The first report should make investigation easier, not make a diagnosis
A damp mark, wet floor or ceiling stain does not by itself identify a water source, the full extent of moisture movement or the right remedial sequence. Property teams can still make the first handover much stronger by recording the facts, protecting access and keeping investigation, drying and reinstatement as distinct decisions.
This is a practical coordination checklist, not emergency-response, building-safety, technical-survey, insurance or legal advice. Do not ask anyone to enter an unsafe area or interfere with electrical, structural, fire-safety or building services. Where there is an immediate safety concern, follow the building’s emergency procedure and contact an appropriate competent professional or emergency service.
All images in this guide are original illustrative scenes, not photographs of Effingham Construction projects or client properties.
1. Capture the report in a form that survives the first handover
The early objective is simple: preserve the information that allows the right person to investigate without turning a report into a conclusion. The Government’s consolidated damp-and-mould guidance is focused on health risks and actions housing providers and their workforce can take to reduce them. An evidence-led record helps teams avoid treating a visible condition as proof of one particular cause.
| First-report field | What to capture |
|---|---|
| Exact affected location | Building, unit, room and the surface or service area reported; identify any potentially affected unit below, above or beside only where known. |
| Time and route of report | When the issue was first noticed, who reported it and how the report reached the team. |
| Visible condition | Factual description such as active water, a damp patch, staining, a sound, odour or a change since the last visit. Avoid naming a cause unless it has been established. |
| Immediate context | Whether water is ongoing or has stopped, whether anyone may be affected and whether there are access, safety or vulnerability considerations that need escalation. |
| Evidence available | Photos, videos, previous work orders, known service shutdowns or prior reports, labelled with the location and date where possible. |
| Next owner | Who is arranging investigation, resident communication, access, temporary protection and the next update. |
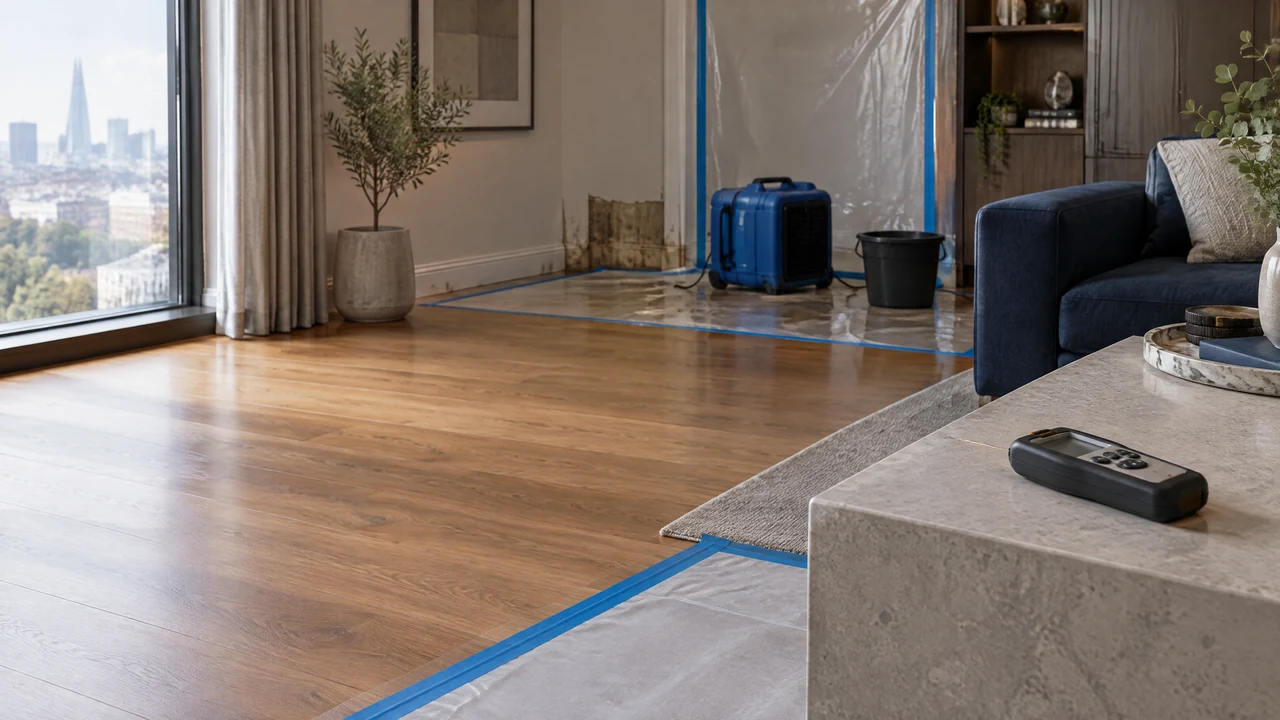
Illustrative image: A generic apartment prepared for an evidence-led investigation. It is not a live incident, a client property or a statement about drying equipment or damage extent.
2. Separate evidence gathering from the cause and the remedy
It is tempting to write “leak from above”, “condensation” or “failed pipe” into the first job note. Those may turn out to be correct, but they are still working hypotheses until the relevant investigation has been completed.
Ask the investigating party to make the status of each point clear:
- Known: What has been directly observed or documented?
- Not yet known: Which areas, routes or sources still need investigation?
- Actioned: What immediate measure has been approved and by whom?
- Pending decision: Does the next action depend on an access visit, a specialist finding, a building-management decision or another party’s input?
This language is useful for a resident update as well. It helps people understand that an attendance can be a meaningful step even if it does not immediately result in a full drying or reinstatement instruction.
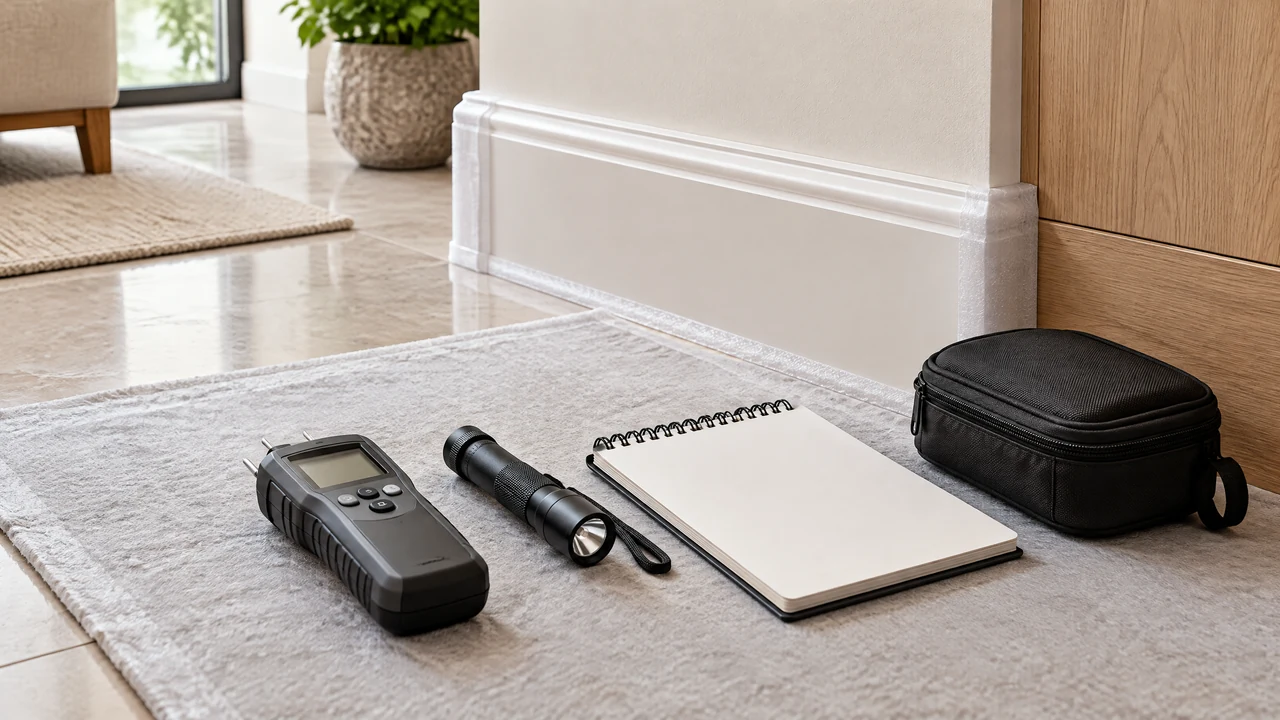
Illustrative image: Generic evidence-gathering items beside protected finishes. No actual readings, notes or client records are shown.
3. Plan access and protection before you book the next visit
In London flats and shared buildings, an otherwise straightforward investigation can be delayed by access, lift bookings, working-hour constraints, resident availability, common-part protection or a need to coordinate several properties. These arrangements belong in the plan, not in a last-minute site call.
A pre-visit property-team checklist
- Access contact: Who can confirm the appointment, and is there an alternative contact if the occupant cannot attend?
- Affected areas: Which rooms, common parts or neighbouring properties may need to be visited to understand the condition safely?
- Building process: Are there concierge, management, parking, loading, lift, permit or working-hour requirements?
- Protection plan: What needs to be protected before investigation, drying work or later reinstatement begins?
- Resident information: What can the team tell residents now about the purpose of the visit, potential access needs and the next update point?
- Evidence route: Where should attendance notes, images and findings be returned so that the case record stays together?
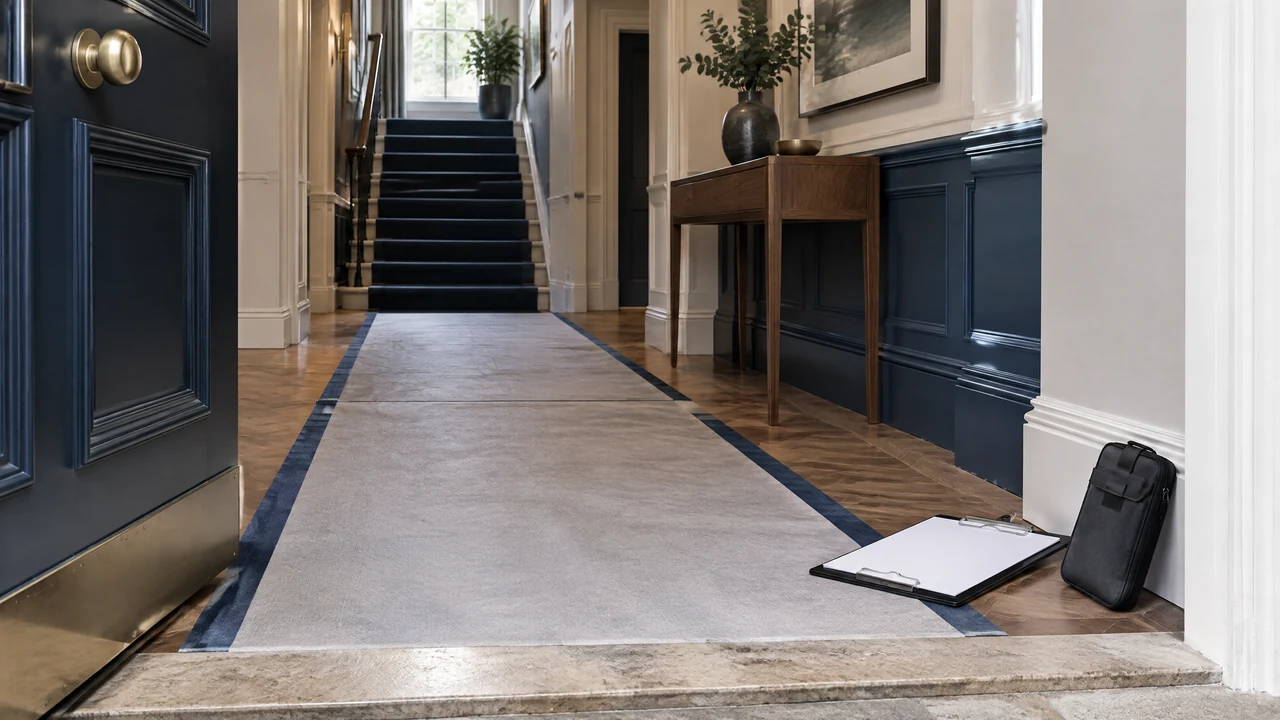
Illustrative image: A generic protected shared entrance and access-planning scene. It does not depict an actual property, access arrangement or client instruction.
4. Do not let early drying or decorating obscure the investigation
Drying, cleaning, opening up and reinstatement can all be appropriate elements of a remedial programme. The order should be driven by the condition, the source investigation, safety considerations and the agreed scope—not simply by what is most visible.
Before a reinstatement instruction is raised, a property team can ask:
| Reinstatement-control question | Why it matters |
|---|---|
| Has the source been investigated or is further information required? | Treating a symptom alone can leave the underlying cause unaddressed. |
| Which areas are confirmed as affected? | A clear work boundary reduces the risk of opening, drying or redecorating the wrong area. |
| What records support the next scope? | Attendance findings, photos, access notes and approved decisions help avoid a broken handover. |
| Are there any recurring damp or mould concerns? | The Government guidance is a useful reminder to consider the condition and its health implications rather than dismissing a report by assumption. |
| Who owns the resident update? | Clear communication about the next step and access needs helps manage disruption. |
For rented homes, the appropriate landlord and its advisers remain responsible for the relevant duties, resident communication and statutory decision-making. Contractors should work within the agreed reporting and delivery process.
5. A practical close-out sequence
- Log the first report. Capture location, condition, timing, reporter, known evidence and any immediate escalation.
- Arrange the right investigation. Keep the question open until the source and affected areas have been assessed appropriately.
- Coordinate the visit. Confirm access, resident communication, common-part protection and evidence return.
- Agree the next scope. Separate investigation findings, drying requirements, repairs and reinstatement so the instruction is clear.
- Record completion and follow-on action. Bring the case record together and make sure any preventative or further work is not lost after the visible finish is restored.
How Effingham Construction can support a defined water-remedial scope
Effingham Construction can discuss leak detection, flood and water-damage remediation, mould remediation and planned maintenance once the property team has an agreed instruction. The source investigation, access plan, remedial method, drying approach and reinstatement scope should be confirmed for the specific property and condition before work begins.
For a broader explanation of how water-related remedial work can be planned, read Flood Damage Remediation in London: A Practical Guide.